Using Google Analytics
Google Analytics is a web platform created by Google that gives users the ability to track all visitors to their websites. This is an insanely important weapon in an online business owner’s arsenal. To run a successful online business, website owners must be able to understand their visitors & their habits. By installing Google Analytics on their websites, online business owners have taken the first step toward collecting data that can be used to increase conversions.

Often people are looking to implement the usefulness of Google Analytics by installing Google Analytics to their WordPress website. As the most popular web building platform on the planet, it offers many very simple ways to install Google Analytics on WordPress. If a user understands coding, then the Google Analytics code can be installed within the <head> tag on any website for Google Analytics to start tracking data. However, many WordPress users do not understand complicated coding and are looking for a plugin to install Google Analytics on their website. Plugins are tools within the WordPress world that simplifies tasks on a website. Many users opt to use plugins instead of coding to achieve certain actions.
In the tutorial above, we show you how to use Google Analytics Dashboard for WP (GADWP) in order to use Google Analytics with your WordPress site. The steps to completing this task are very easy.
How to Install Google Analytics to WordPress
 Step 1: Create a Google account if you don’t already have one. The easiest way to do this is to just go to Gmail.com & create an email account there. You will use this account to login to Google Analytics.
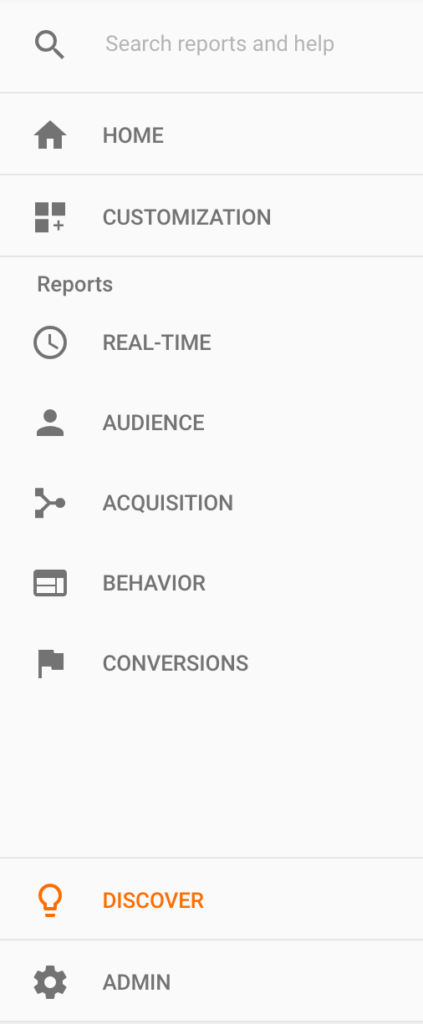
Step 2: Add your website to Google Analytics. Login to Analytics.Google.com. Once you are here, click the Admin tab on the left sidebar. Under Account, click the drop down menu and hit Create New Account. From here, you will input all of the data for your website description.
Step 3: Add Google Analytics Dashboard for WP to your WordPress site. Go to Plugins>Add New and search “Google Analytics”. The plugin we will be using should be the first listed plugin after your search. Click install and once it has installed click Activate. At this point you will be transferred to your Installed Plugins page.
Step 4: You need to now set up the plugin. Underneath the plugin, Google Analytics Dashboard for WP (GADWP), click settings. The plugin will prompt you to get an access code. Click the red text that says “Get Access Code.” A new tab will immediately pop up where you login to your Google Analytics account and allow Google to communicate with the plugin. After you hit Allow, you will be given a code to input into the plugin. Once this is done, all you need to do is align the correct account with the plugin. If you only have one Google Analytics account, then this will be the default account. After you have selected your account, hit “Lock Selection” and now your plugin is all set up and ready to go.
Step 5: Begin tracking data! You have now set up Google Analytics with your WordPress site. To double check your settings, open up your Google Analytics account to show your current visitors. If you open a new tab and visit your website, Google Analytics will show 1 current visitor on your website (It’s you!).
We hope that our tutorial has been helpful for you!


