OptinMonster Review: How To Build Your Email List Fast
When I started out online, the one thing I wish someone would have told me is how important it is to build an email list. There are a number of reasons as to why you want to build a list BUT when you are starting out it may seem difficult to get people to optin to your list.
OptinMonster: The Quick Overview
In 2013 OptinMonster joined the growing list of premium email optin WordPress plugins. It stood out from the crowd in that it provided users with an easy to use drag and drop interface that allowed you to create beautiful optin forms in minutes. The forms you could create were easy on the eye and converted extremely well.
One of the best features of OptinMonster is the “Exit Intent” feature. This allows you to setup your optin forms to only show up when a visitor is about to leave your site. (When their mouse cursor got near the red X or the back button on their browser).
More Great OptinMonster Features
- Lightbox, Side Bar Forms, and Pop Up Forms
- Many different design templates to choose from
- Unlimited customization for your optin Forms
- Custom HTML in your forms
- Exit intent for when visitors are about to leave your site
- Integration with all of the big email service providers
- Easy to use in the WordPress interface and easy to connect to WordPress
OptinMonster: Recent Updates
OptinMonster is no longer just for WordPress users; it can now be used on any hosting and website builder. All of the Optin Form building is done outside of the WordPress interface and is much more streamlined.
OptinMonster has also added many different types of optin forms such as Full Page, Mobile Optimized, and Sidebar Widgets.
Custom Content Canvas Form
With the addition of the custom content canvas forms you can start from a blank slate. With this form, you are allowed to set the height and width of the form as well as the contents.
This takes away the limits of only adding an email optin form. You now can add Social Media pages, eBooks, online courses, and so much more.
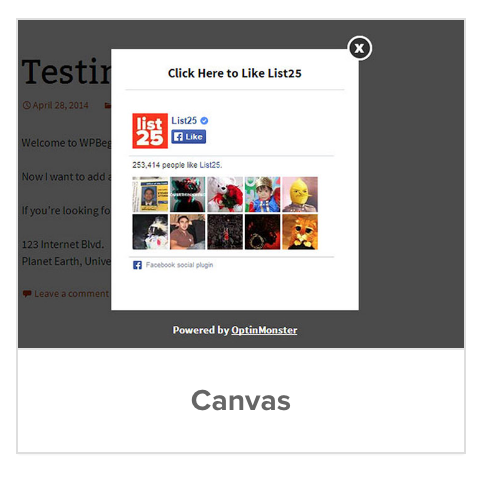
You can also add custom animations to go along with your custom form for when it enters and exits your site.
Check out the OptinMonster Form Options Here
How To Create An Email Optin Form With OptinMonster
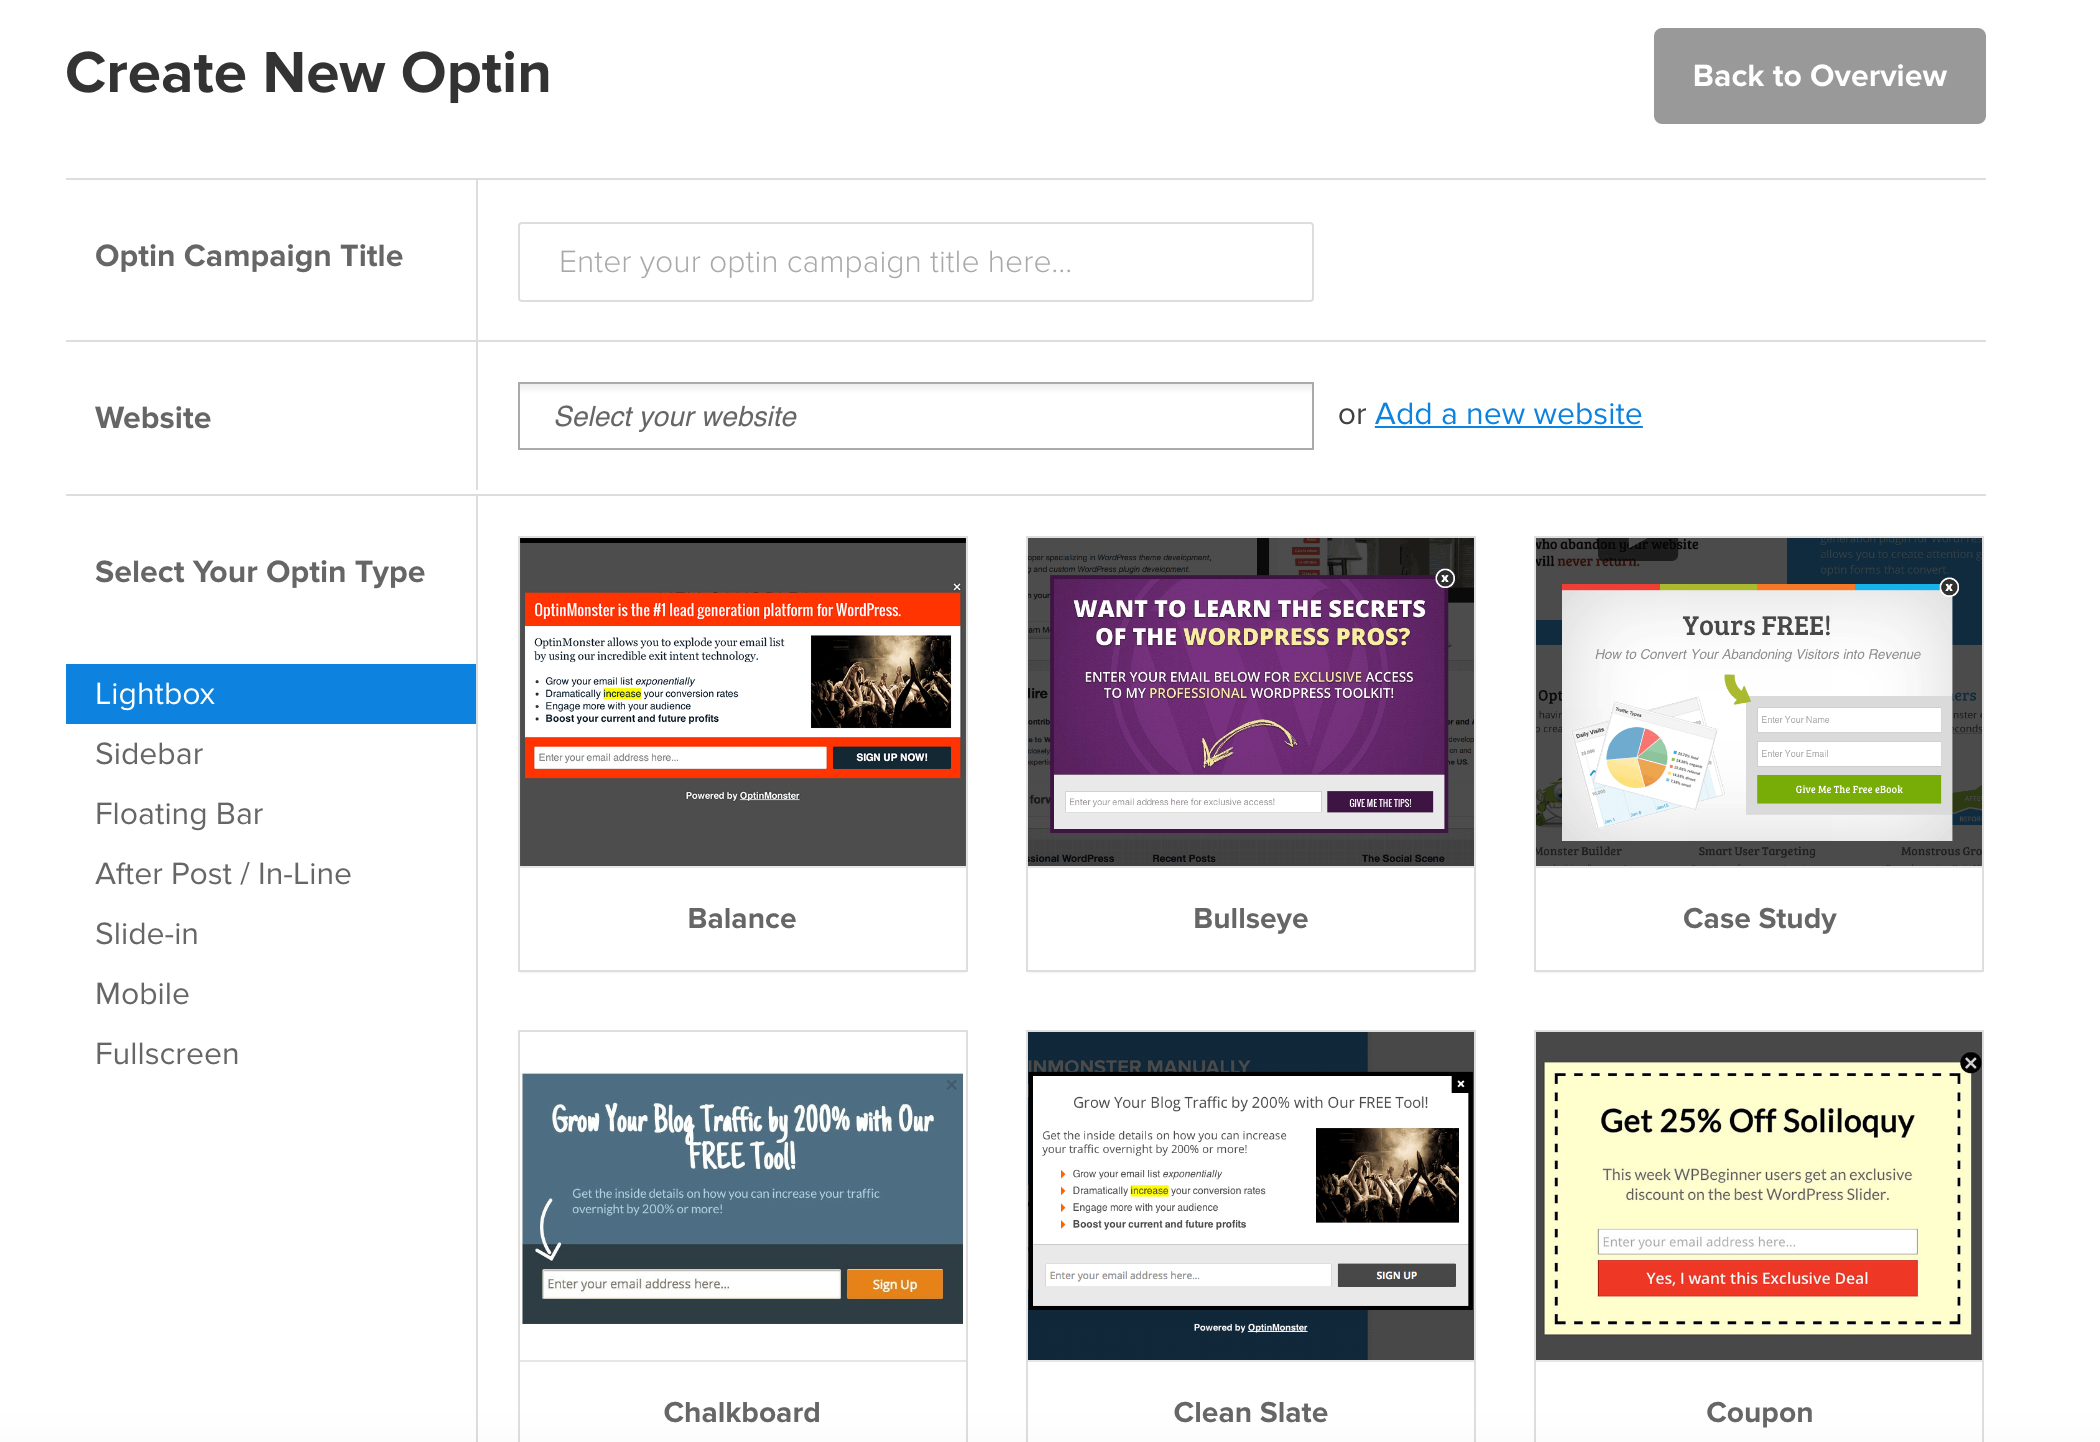
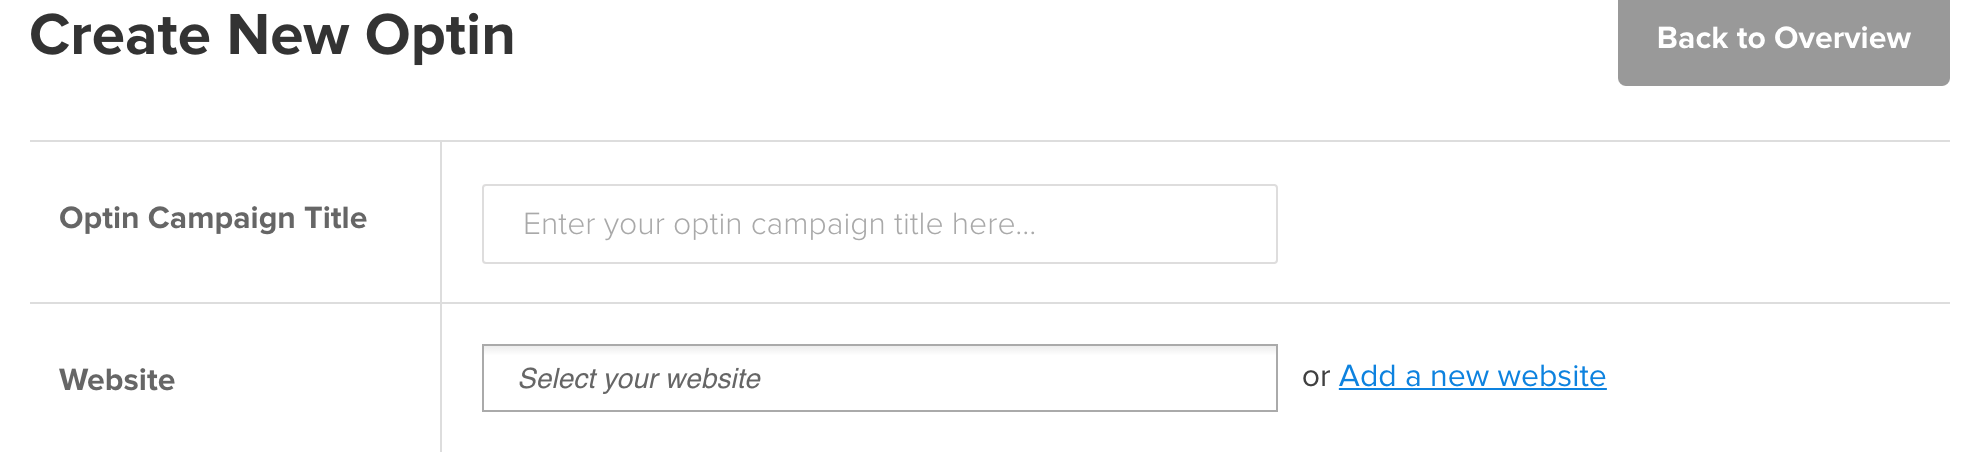
The first step is to add your website to your OptinMonster account to link your forms too. This process is as simple as typing in your URL in the box above the OptinForm creation page.

Once you have entered in your website URL, you will need to name your form, and then you can begin the design process of creating what your opt-in form will look like.
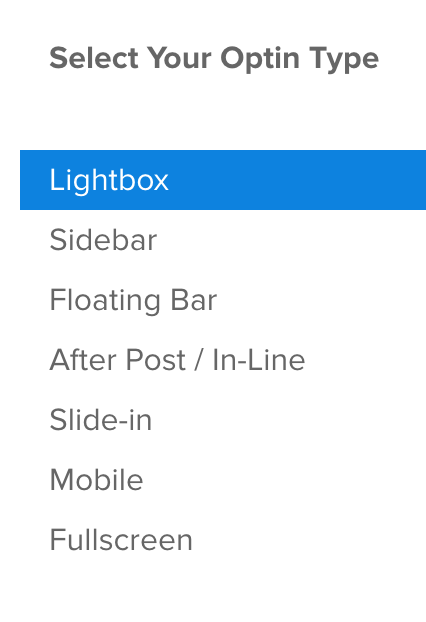
First, you will need to select what type of form you want to create. (This may be limited by the type of OptinMonster account you have subscribed to).
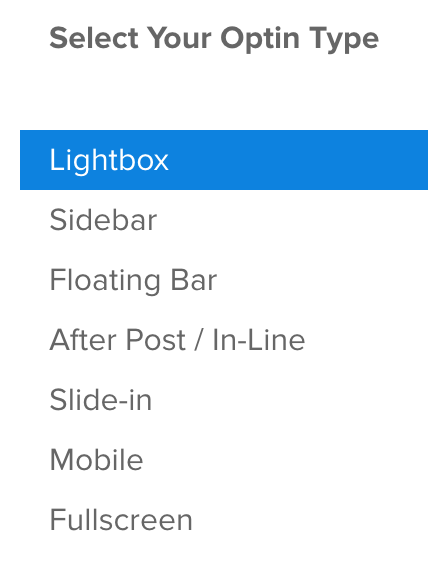
The number of templates for each type of form will be different, but more are added on a regular basis. The two that have worked for me are the sidebar widget and the lightbox forms. The lightbox forms are the ones you see when you go to a site and then after so long a pop-up comes up asking you to optin to their email list or product.
Customizing Your Form Design
Next is the fun part, customizing what your form will look like. Go crazy here and make it look professional YET personal. I like forms that are easy to read but have some color to them to pop out.
Also, think of something you can offer your audience that will make them subscribe to your list. This may be a free eBook or PDF list of something valuable.
Example: “Sign up now for our free eBook on how to grow your email list fast.”
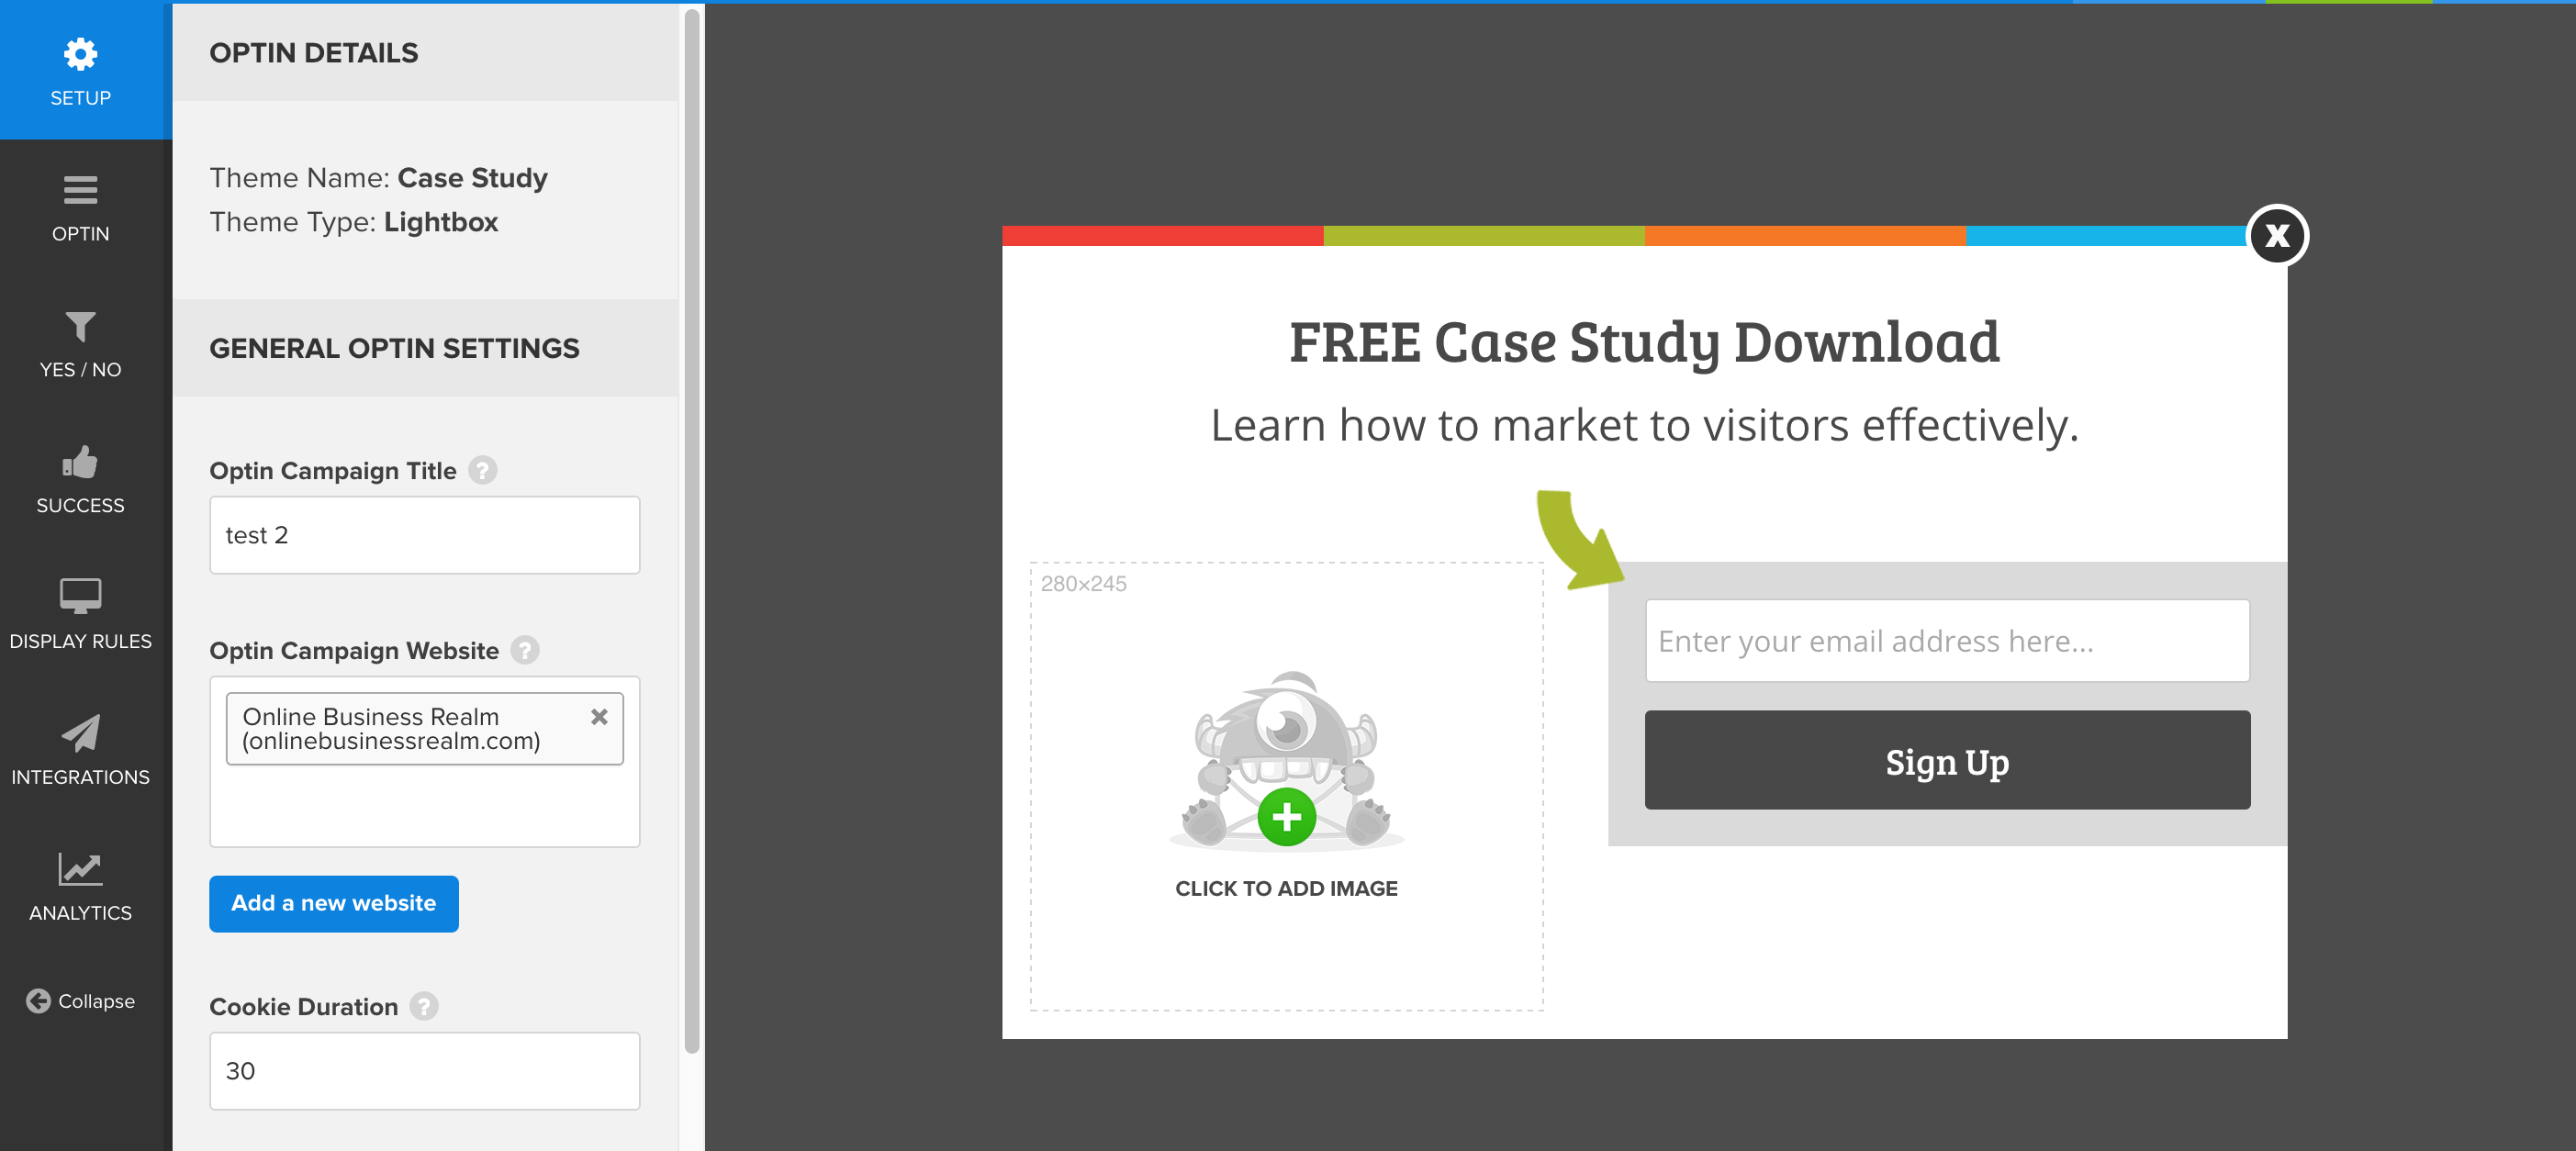
The design editor is relatively straight forward and easy to use. There will be a list of options on the left-hand side of the screen that will allow you to navigate to certain section of the editor. It is basically a drag and drop editor that allows you to use their images OR upload your own. Double clicking on any text on the design allows you to edit the text to whatever you want.
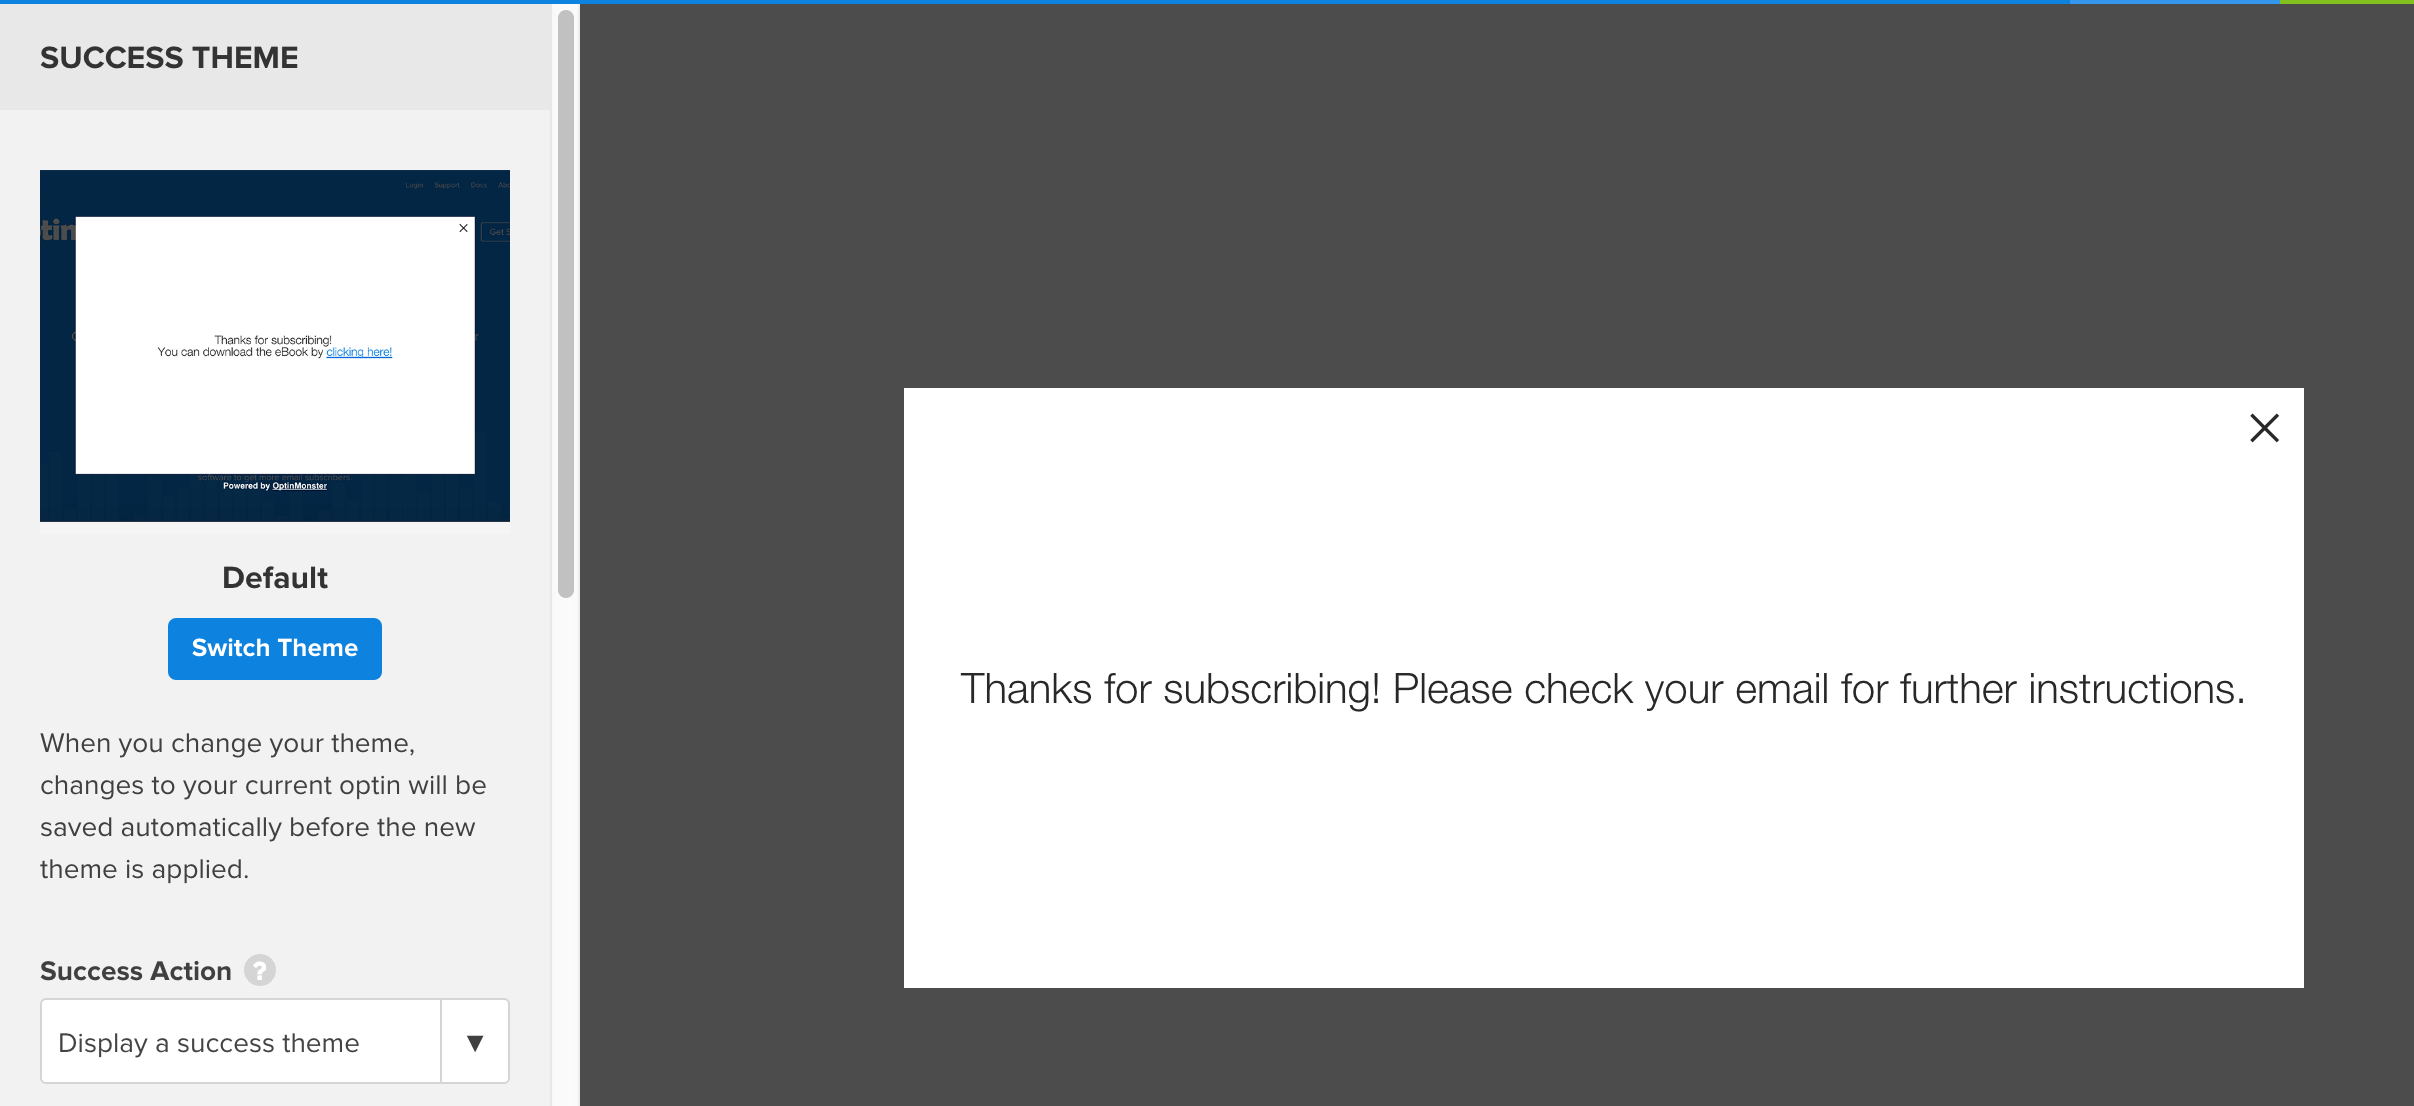
The Success option (It has a thumbs up icon next to it) allows you to choose what happens after they have opted into your list. You can choose to display a thank you message or you can have the form close and go back to the original page on the site.
Configuring How The Form Works
After you have settled on a design for your form, it’s time to make it work the way you want it to. You can do this on the same screen, via a different tab located on the left-hand sidebar.
This tab will be called “Display Rules”. Under this section, you will determine when and who sees your form.
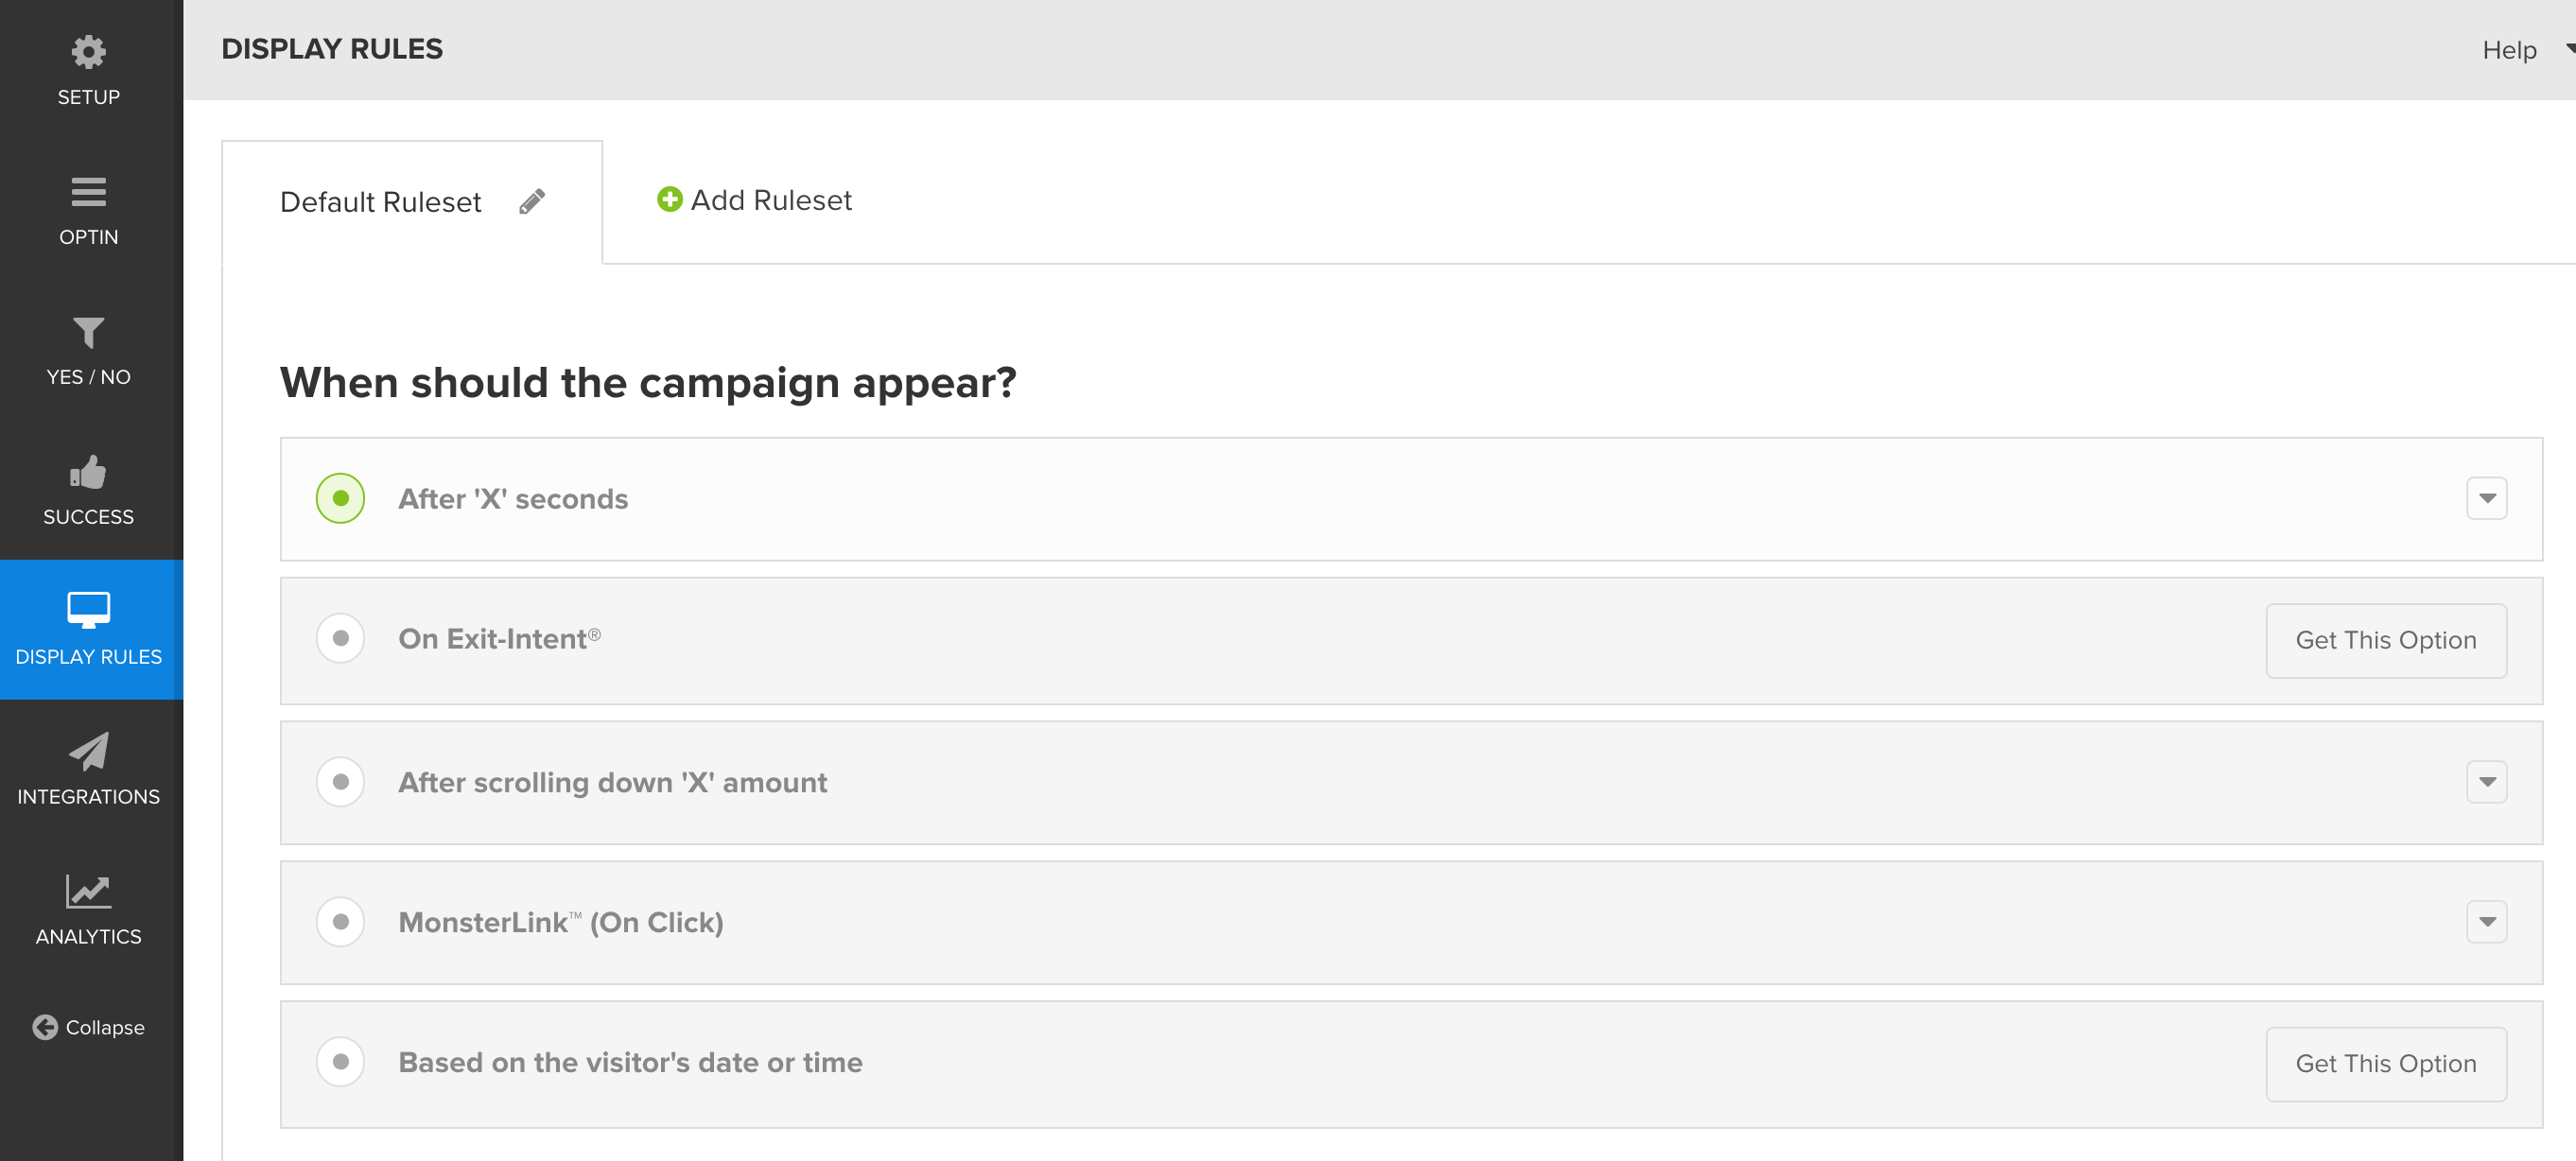
It will depend on what type of form you are working with, but you will have different options ranging from “After so many seconds” to “on Exit-Intent”. This will allow you to customize EXACTLY when and where you form is displayed.
Try changing this up each week if you can to see which setting have the best success rate.
If you are a paid member of OptinMonster you will be able to remove the “Powered by OptinMonster” watermark at the bottom of all of your forms.
Email Service Provider Integration
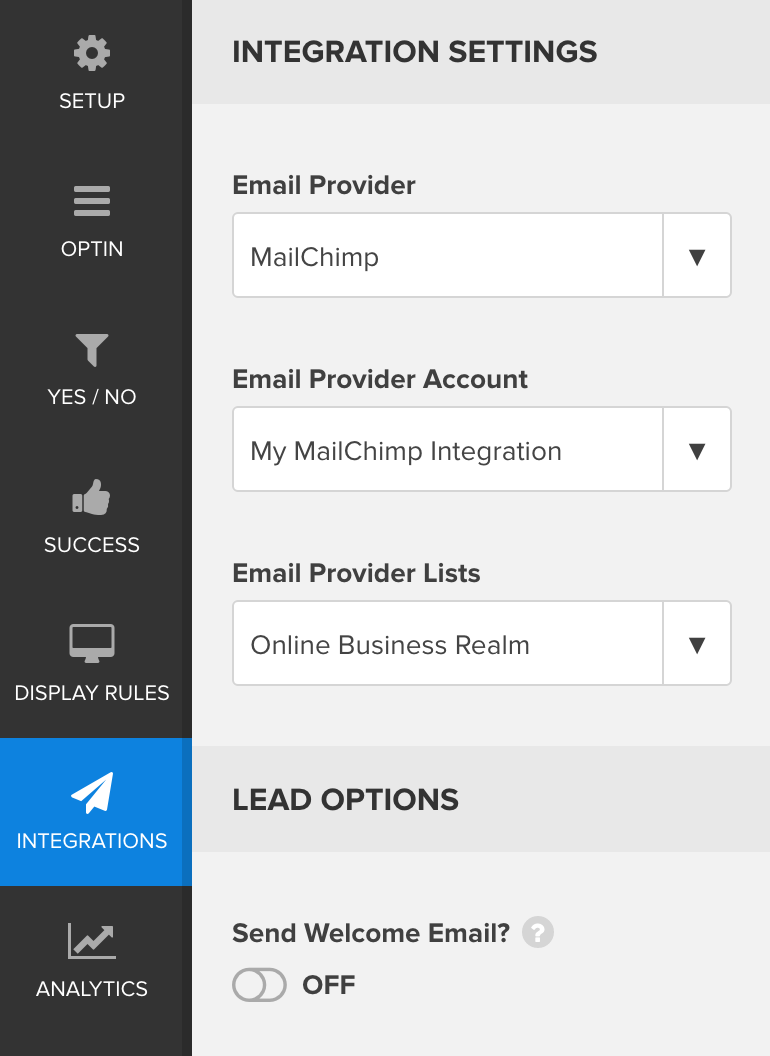
As I mentioned earlier in the post, you can integrate your forms with all of the big email list providers. In order to do this, you will click on the “Integration” tab on the left-hand side of the screen and then select the email provider that you use. Once you have selected your provider a help page will come up guiding you through the steps of linking your email provider to OptinMonster.
Once your form is set up and saved, it’s time to deploy it to your website.
Adding The OptinMonster Form To Your Website
After you have saved your form, click the embed button to add it to your website.

If you are a WordPress user, download the free OptinMonster plugin and simply log in to your OptinMonster account via the WordPress plugin page. This will link up your account with your website and allow you to start displaying the optin forms you’ve created on the OptinMonster website.
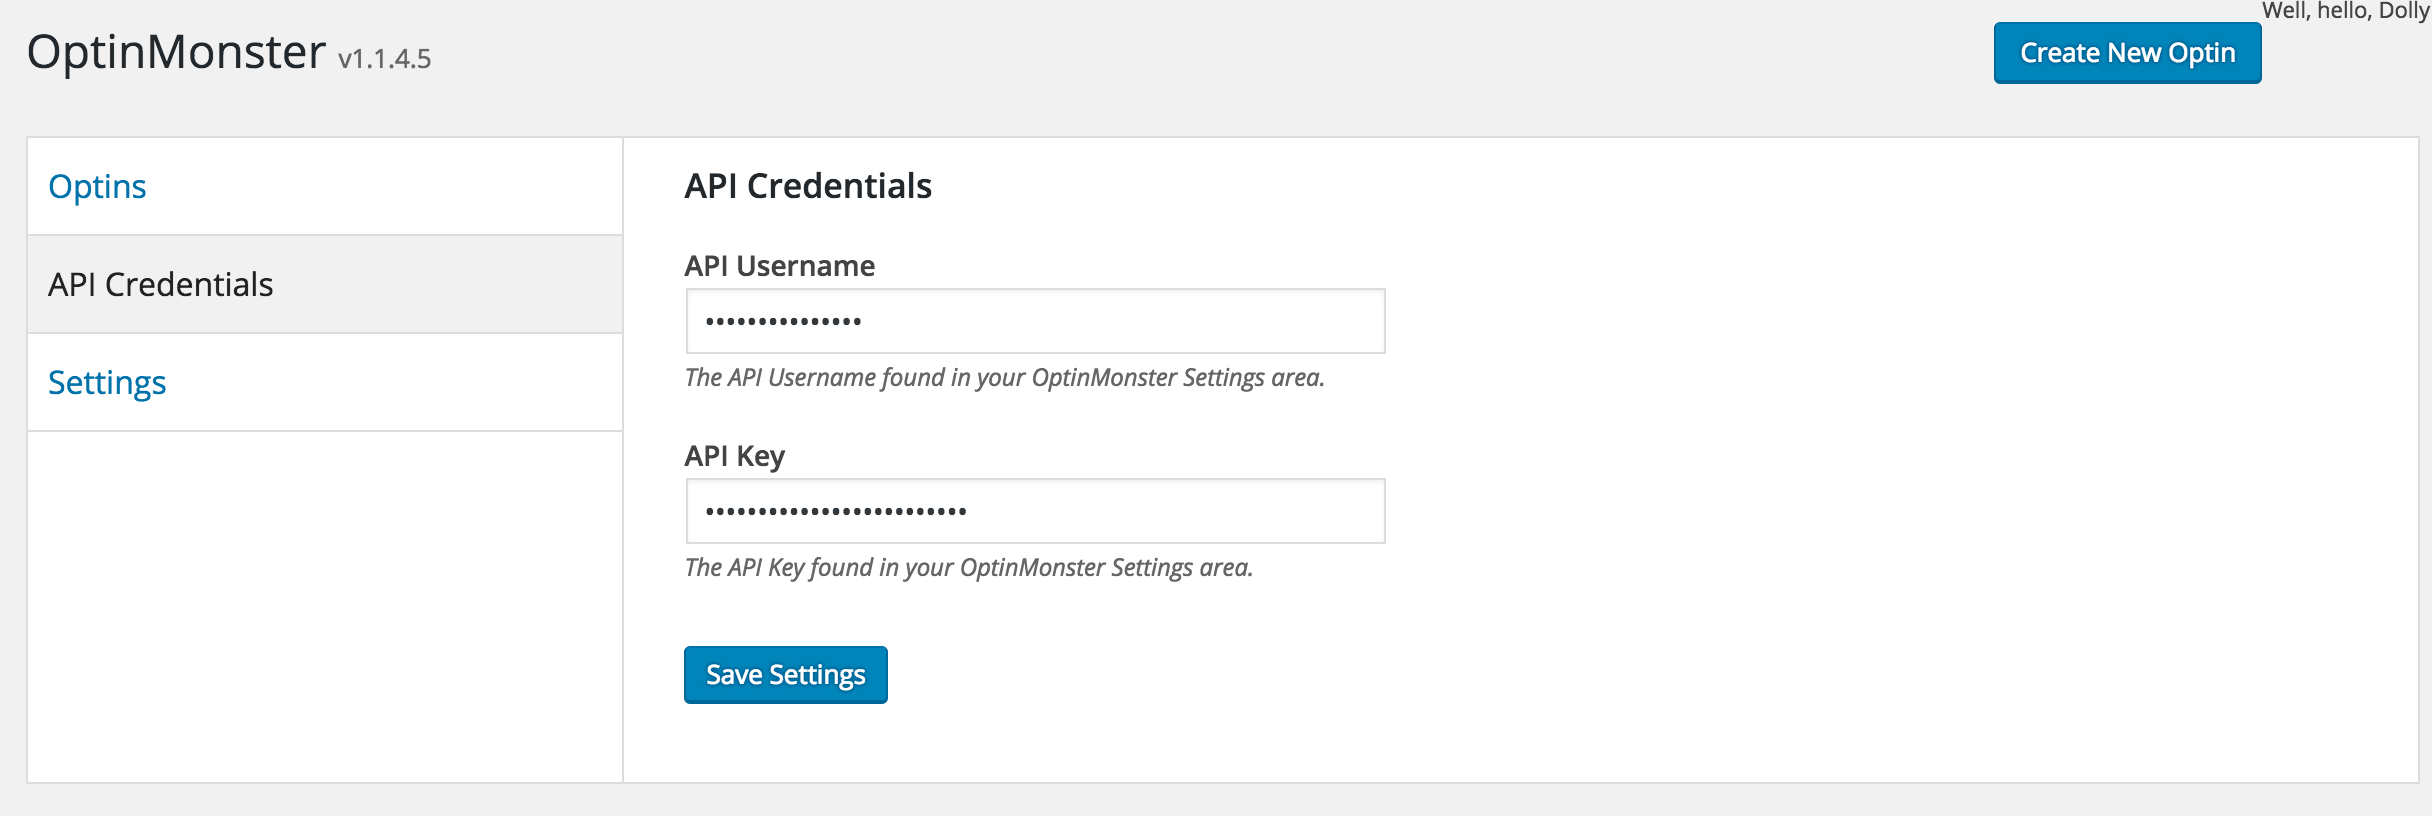
After authenticating the plugin by typing in your API username and key, you will have the option of configuring how the plugin works on your site. This will include the option of displaying your form globally or defining which pages, posts, categories, and other areas of your site your form gets displayed on.
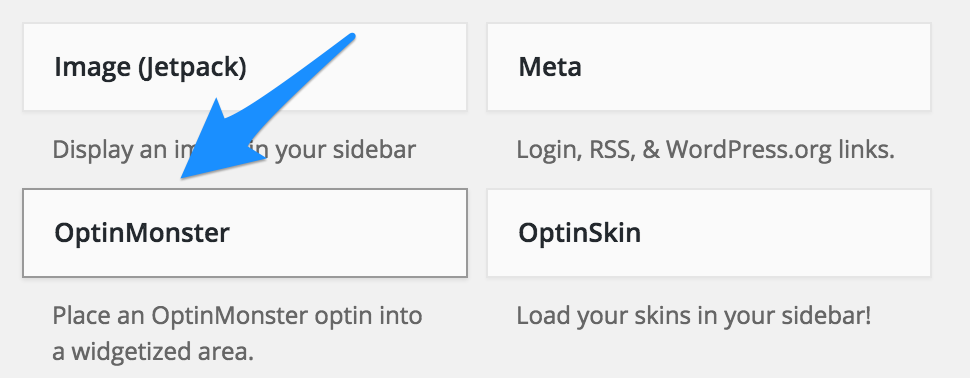
To add the sidebar widget on WordPress just go to Appearance —> Widgets.
Once you are there you will see a new one now that is called “OptinMonster”. Just drag this new widget to the sidebar you are wanting it to display on.
Final Thoughts On OptinMonster
Personally, I can tell you that I have seen a 38 percent increase in email optin forms on my sites since switching over to OptinMonster. I have found that by making it easier to optin to my lists, I can try different things that may work even better. The way that the forms are displayed, and the beautiful designs that you can choose from, makes OptinMonster a fantastic choice for anyone looking to grow their email list.
I am not saying that OptinMonster is without flaws, BUT for what I want it to do, I am really happy with my purchase.
Learn more about OptinMonster here