How to Set Up Hosting and Nameservers
For our Web Wednesday video series, we are showing you how to build a website from start to finish. In last week’s video we showed you how to choose your hosting package. We recommend using Hostgator as it has a simple to use cPanel that makes setting up a website there very smooth. Once we have chosen our hosting package, now we must learn how to set up hosting and nameservers for our website. It may be a little intimidating at first for those new to website building, but it is actually quite easy.
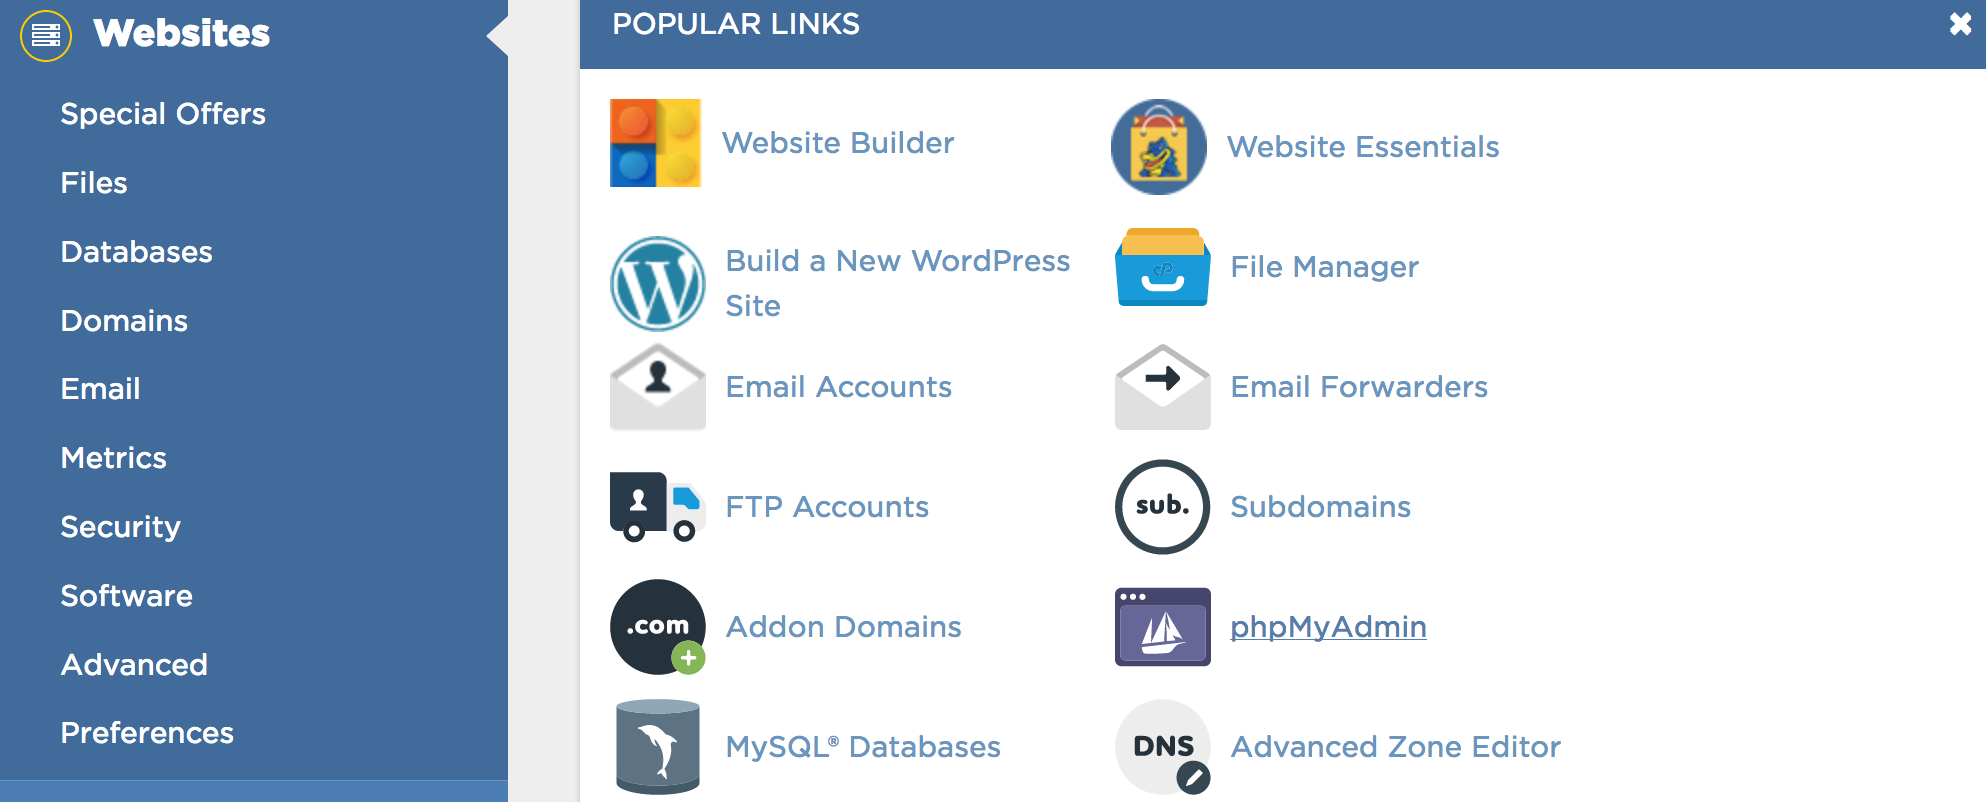
The first thing that users will notice when they sign into their Hostgator account, is the interface of the cPanel. The cPanel is the admin by which you can tweak anything having to do with the backend of your website. This includes the File Manager, Redirects, mx Records, & more. A large portion of available sections on the cPanel are virtually useless. If you do not know yet, every site you visit that sells hosting, domains, or online marketing solutions, unashamedly try to push every product under the sun. So pay attention in our “How to Set Up Hosting and Nameservers” tutorial video above and we will reveal to you which icons you actually need to pay attention to.
Setting Your Nameservers
Since GoDaddy (or whatever domain service you own) controls your URL address, you must make GoDaddy communicate with your new hosting company. When someone visits your website, GoDaddy must be able to send visitors directly to where your website is hosted at. To do this, you must be able to let GoDaddy know where to send the visitors to. You do this through setting what are called nameservers.
If you navigate to the right side of your cPanel and scroll down the page, there is a section that contains your account information. Within that information, your nameservers are listed. They will generally be something like ns32.hostgator.com & ns33.hostgator.com. Your nameservers will always be sequential in number. This makes setting them through GoDaddy fairly easy.
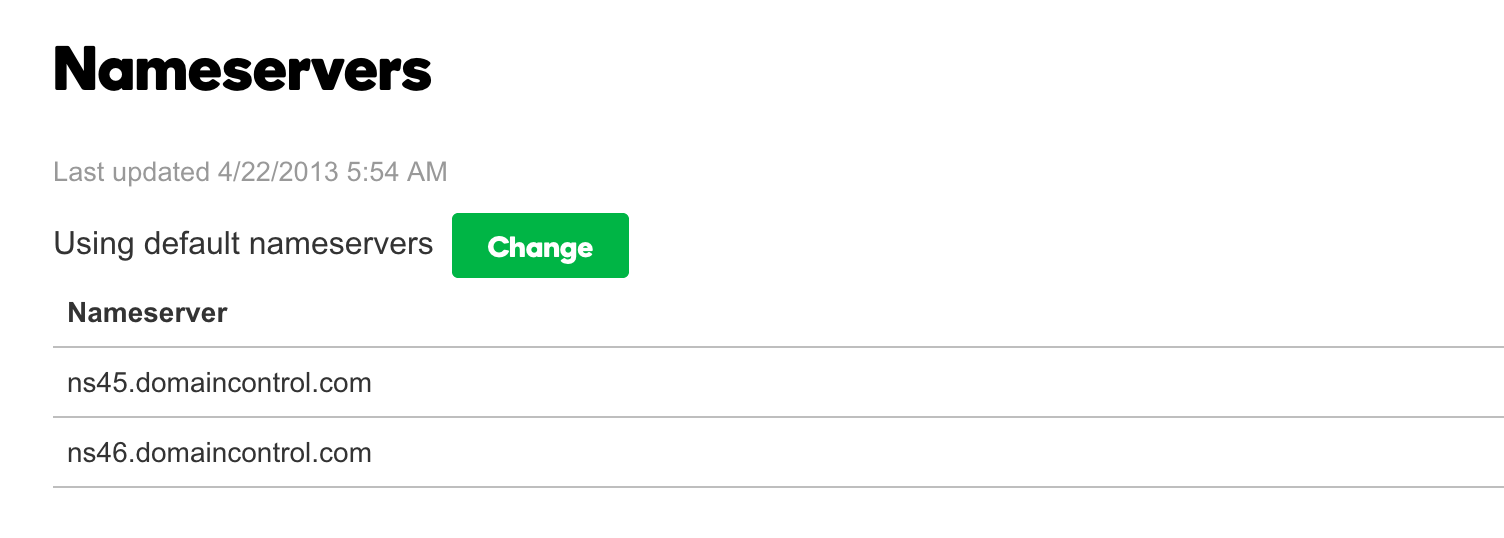
Once you have located your nameservers on Hostgator, highlight and copy the first one by hitting cmd + C for Mac or ctl + C for PC. Navigate to your GoDaddy account. Once you have entered your account, click on “Manage DNS” next to the domain you are looking to host your website on. One of the options you will have on the Manage DNS screen will be to set your nameservers. Initially, “Default Nameservers” will be the current setting. To change the setting to reflect your Hostgator nameservers, simply click “Change”. In the first box, paste the nameserver address you copied in from your Hostgator account information. Then, paste the same address in the second box and simply change the number to reflect your other nameserver. After you have placed both nameserver addresses in the boxes, click save.
And just like that, you are ready to install WordPress! Thanks for reading & don’t forget to watch our tutorial video!